
Last updated November 17, 2026
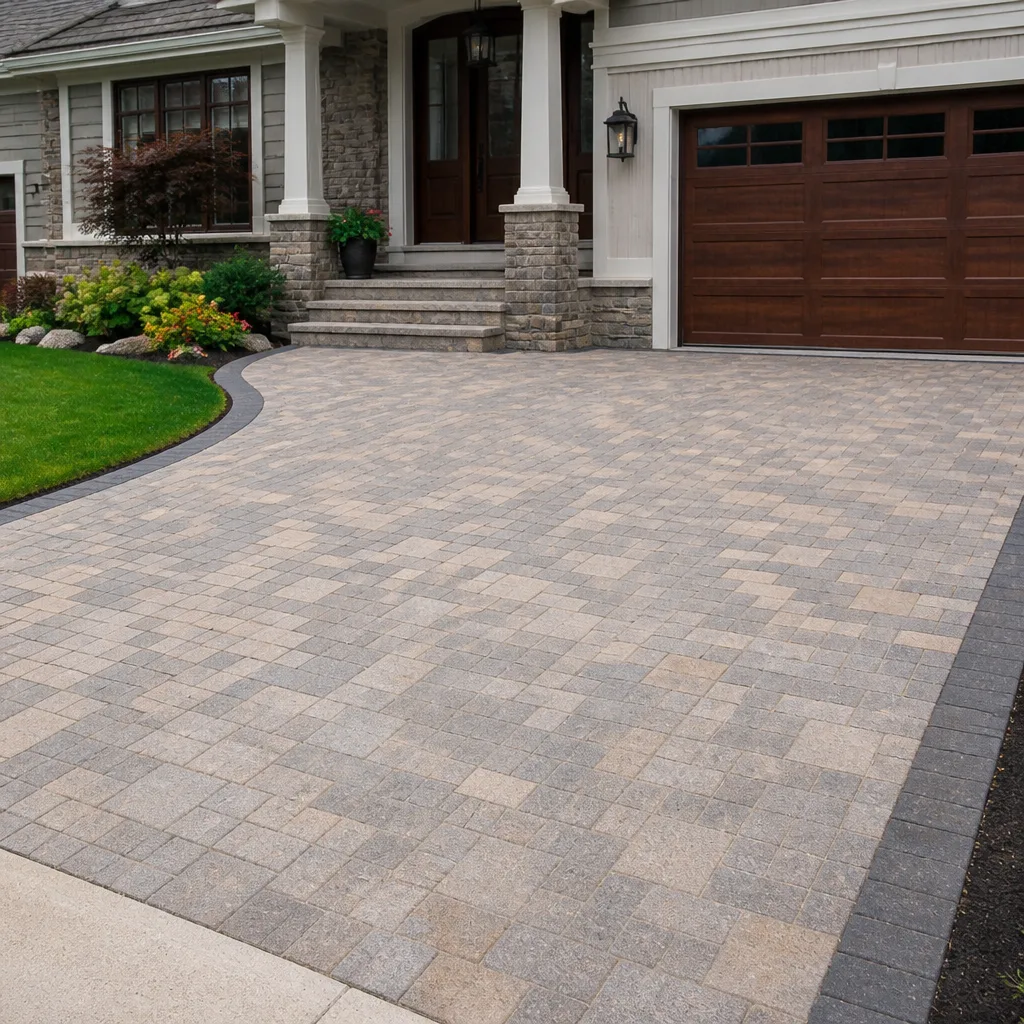 Driveway & pavers
 Kitchen remodeling
 Bathroom remodeling
 Home additions & ADU
 Roofing
 Windows & doors
 Fence
Free written scope consultation - allowances, timeline, and change-order rules on paper before a single trade is scheduled
Driveway & Pavers Maintenance Checklist for Burbank Homeowners
Most driveway advice you’ll read online was written for a climate nothing like ours. It talks about freeze-thaw, road salt, and winter ice. Burbank has none of those problems. What we do have is relentless sun, hard water running off the house and landscaping, and Santa Ana winds that push grit and debris across every horizontal surface. That combination creates a failure pattern all its own, and it’s why a paver driveway here can look tired inside a few years while the same driveway in a milder zone keeps its finish far longer. The culprit usually isn’t traffic. It’s mineral scale, UV, and cleaning methods that do more harm than good. This checklist walks you through what actually goes wrong on Burbank driveways and how to stay ahead of it.
Quick Answer
The most important driveway and paver maintenance steps in Burbank are: keep the surface clear of windblown debris, manage hard-water mineral deposits with a gentle pH-neutral cleaner instead of bleach or harsh acids, refresh polymeric joint sand before each Santa Ana wind season, and reseal on roughly a two-year cycle because our UV exposure breaks down sealers faster than coastal conditions do. Inspect edge restraints twice a year, since the earliest sign of paver migration is a restraint losing its grip at the perimeter, not a loose paver in the middle.
Styles & brands we work with
- Kitchen remodeling
- Bathroom remodeling
- Home additions & ADU
- Roofing
- Windows & doors
- Driveway & pavers
- Fence
Table of Contents
- Hard Water and the Mineral Haze Problem
- Preparing Your Pavers for Santa Ana Wind Season
- UV Exposure and Your Sealer Timeline
- Inspecting Edge Restraints Before Pavers Migrate
- DIY Steps That Void Manufacturer Warranties
- A Seasonal Maintenance Calendar for Burbank
- Reading the Signs of Wear Early
- Repair or Replace? Deciding What Makes Sense
Hard Water and the Mineral Haze Problem
Burbank’s municipal water carries a meaningful mineral load, calcium and magnesium chief among them. Every time sprinklers overshoot the lawn, a hose gets left running, or rain splashes off a mineral-heavy surface and dries, those minerals stay behind. Over months, they build into a chalky film across the pavers. Homeowners often mistake this for a dirty surface or worn finish, reach for the strongest cleaner in the garage, and make the problem worse.
The key distinction is that mineral haze is a deposit sitting on top of the paver, not damage to the paver itself. It comes off with the right approach and stays off with the right routine. Here’s the protocol we recommend for a surface with visible calcium buildup:
- Start dry. Sweep the entire driveway clear of grit and debris. Wetting a dirty surface first can grind loose sand into the joints.
- Use a pH-neutral paver cleaner. Dilute per the label and work it in sections small enough that it doesn’t dry before you rinse.
- Let it dwell, don’t scrub hard. Give the cleaner a few minutes to loosen the mineral film. Aggressive scrubbing with a stiff bristle does nothing extra for calcium and can dull textured finishes.
- Rinse thoroughly with low pressure. A standard garden hose nozzle is often enough. If you use a pressure washer, keep it under roughly 1,200 – 1,500 PSI with a wide fan tip held well back from the surface.
- Repeat for stubborn spots. A second light pass beats one aggressive one every time.
What you should never do is reach for muriatic acid or a splash of chlorine bleach. Acid eats the cementitious binder in the joint sand and can etch certain paver finishes. Bleach leaves its own residue and alters the color of some pigments. Either one can take a driveway from “needs a cleaning” to “needs a professional.” If mineral staining runs deep or covers a large area, that’s a job for Construction Burbank, since correcting an etched or improperly cleaned surface usually means resetting and resealing sections.
Preparing Your Pavers for Santa Ana Wind Season
Santa Ana winds don’t just knock branches loose. They drive fine grit, dust, and dry plant material across every exposed surface at speed. That grit works its way into joints and, over a season, scours the polymeric sand that holds your pavers in line. In a high-wind zone, that sand doesn’t last as long as a national guide will tell you, which is why timing your reapplication around the wind season matters more than following a fixed annual calendar.
Polymeric sand is the stabilized joint material that locks pavers together and keeps weeds and water from working between them. When it degrades, you’ll see it crumbling at the joint edges, feel loose grit underfoot, and notice weeds sprouting. Before the next wind season, work through this sequence:
- Inspect every joint. Look for sections where the sand has dropped below the paver’s bevel. Those low spots are where wind and water get in first.
- Remove the failing sand. Clear the loose material from the joint, but don’t dig into the bedding layer underneath.
- Clean and dry the surface fully. Polymeric sand sets best on a completely dry driveway. Don’t apply it right after a rinse or after the sprinklers have run.
- Fill the joints completely. Sweep the sand in, working it into the full depth of each joint, then compact and water per the product instructions.
A partial refill where joints are failing is normal upkeep. If you’re refilling the entire driveway every single wind season, though, the underlying issue is worth investigating. It often comes down to sub-base or drainage, and that’s when a proper assessment pays off. Our driveway & pavers work with brands like Belgard, Techo-Bloc, Unilock, Tremron, and Cambridge Pavers means we can also match existing units precisely when a few need replacing, which matters more than it sounds when your driveway is a specific color and texture.
UV Exposure and Your Sealer Timeline
Sealer is a sacrificial layer. Its job is to take the sun damage so your pavers don’t have to. In Burbank, where the sun is intense for far more of the year than it is along the coast, that layer breaks down faster. Where a coastal homeowner might stretch a reseal job to four years, we generally recommend a two-year cycle here. Resealing every couple of years is cheaper and simpler than once every four with a worn-out finish underneath.
Signs your sealer is due:
- Water absorption. Sprinkle a small amount of water on the surface. If it soaks in and darkens the paver within a few seconds, the seal is failing.
- Color fade. Enhanced sealers deepen color. When your pavers look washed-out and pale compared to a protected test spot, it’s time.
- Surface dullness. A surface that’s lost its sheen and feels slightly chalky is likely ready.
- Visible chalking underfoot. A white powder that wipes off is a sign of surface breakdown.
The resealing process involves a full clean, a completely dry surface, and even application. Applying sealer over a wet or dirty driveway traps moisture and yields cloudy patches that are hard to reverse. Because our sun exposure is the deciding factor, many Burbank homeowners do best scheduling resealing in the same window each time rather than reacting after the finish already looks worn. That keeps the layer intact rather than layered on top of a degraded coat, which is important because sealer doesn’t have to build up thick to work.
If your pavers are still new, wait the period the manufacturer recommends before the first seal coat. Sealing too soon locks in residual moisture from manufacturing and installation. On a new install, we’ll tell you exactly when to schedule the first reseal based on the specific product line.
Inspecting Edge Restraints Before Pavers Migrate
Every paver driveway is held in place at the perimeter by an edge restraint, usually a metal or plastic rail driven into the sub-base or set in concrete. The restraint is the frame of the whole system. When it fails, the pavers and bedding sand behind it lose their lateral support, so the field starts shifting outward under load. Homeowners usually spot a loose paver and assume the paver failed. More often, the restraint gave out first, and the paver was just the visible symptom.
Do this visual check twice a year, ideally in spring and before the wind season:
- Walk the full perimeter. Look along the outer row of pavers for gaps between the paver and the restraint, or for pavers pushing past their original line.
- Look for the restraint itself. If you can see the edge rail lifting, or the concrete it sits in is cracked, that’s a failing restraint.
- Press gently near the edge. If the outer pavers feel springy, or you can see the joint sand migrating out at the perimeter, the edge is compromised.
- Check where the driveway meets the garage slab, sidewalk, and any planters. Transitions are where movement shows up first.
- Watch the joints in the outer two rows. Widening joints along the edge are a quiet early warning.
Catching this early is a small repair. Catching it late means the outer run has walked, the bedding sand has shifted, and what could have been a restraint replacement turns into resetting a whole section. When you see restraint trouble, call in a pro. Shifting pavers underfoot are also a trip hazard, and a driveway that has begun to migrate is a driveway that needs the underlying problem solved, not just cosmetic patching.
DIY Steps That Void Manufacturer Warranties
A paver driveway is a real investment, and the manufacturer’s warranty depends partly on how the surface is treated after installation. The most common D-I-Y steps that void a premium paver warranty are aggressive chemical cleaning (bleach, muriatic acid, heavy degreasers) and high-PSI pressure washing that forces sand out of joints and can chip or spall the surface. Manufacturers want their product maintained, not stripped. Both of those “shortcuts” fail that test.
Here’s a practical list of what to avoid, and what to do instead:
- Never use bleach or pool chlorine as a general cleaner. It can discolor pigmented pavers and leave a residue that keeps coming back.
- Never use muriatic acid unless a specific product label explicitly calls for it, and even then, only with training. It dissolves joint sand and can etch the surface.
- Never power-wash above low pressure. A strong jet blasts joint sand loose, and it can lift deteriorated sealer film inconsistently. If you’re using a pressure washer, use a wide fan tip, keep the wand moving, and hold it back from the surface.
- Never seal a damp or dirty driveway. Trapped moisture causes clouding and can cause the sealer to peel. That’s not a warranty claim; it’s an application error.
- Never put down rock salt or ice-melt products. They’re unnecessary in Burbank, and some can attack the surface. Plain swept sand is the safer grip aid during the rare wet spell.
The rule of thumb is simple: if a cleaner comes in a jug with a warning skull or you have to wear a respirator, it almost certainly isn’t the right product for a paver surface unless a trained pro is applying it. Stick to pH-neutral paver-specific products. When in doubt, ask before you pour. Keeping your product warranty intact is far easier than trying to argue one after a failed cleaning.
A Seasonal Maintenance Calendar for Burbank
Burbank doesn’t have a harsh winter to close out the driveway care year, which means maintenance is more about our specific seasons than a single deep-winter prep. Here’s the schedule we recommend for a Burbank driveway, built around our sun, wind, and water:
- Late winter (February – March): Post-winter inspection. Walk the perimeter for edge restraint issues, look for joint sand loss, check drainage. This is a good window for a gentle pH-neutral cleaning before the sun intensifies.
- Spring (April – May): Full clean and, if it’s time, a fresh sealer coat. Water absorption test tells you whether the seal is still doing its job.
- Early summer (June): Re-check joint sand after the first hot stretch. UV accelerates sealer breakdown during these peak months, so watch for dulling.
- Pre-wind season (roughly September): Refresh polymeric sand in failing joints and clear any plant debris buildup. Santa Ana winds pick up in fall, so this is the most important joint-sand window of the year.
- Fall (October – November): After the first dry, windy stretch, sweep debris and check for new joint loss.
- Year-round: Spot-clean spills, sweep regularly, and never let standing water pool. A quick monthly walk catches problems before they cost you a bigger repair.
The schedule is a starting point, not a rigid rule. High-traffic driveways and those in wind-exposed spots need more frequent joint sand checks. Driveways shaded part of the day seal differently than ones in full sun. We tailor these intervals to the specific pavers and location. The constant across every Burbank driveway is that our sun load and mineral water, not winter, drive the maintenance cycle.
Reading the Signs of Wear Early
The best way to keep a driveway looking new is to recognize the early, minor signs before they turn into something structural. A little surface haze is a cleaning job. The same haze left for a couple of years, sealed over, becomes a surface that needs professional correction. Here’s the early detection list we walk through in person:
- Chalky white film after the surface has dried from a wash or rain: mineral deposit, clean with pH-neutral products.
- Sand accumulating in the driveway low spots or gutters after a windy stretch: joint sand loss, refill the joints.
- Widening joints in a straight line along the outer rows: edge restraint movement.
- Dull, faded surface with no sheen: sealer failure, test with the water absorption method.
- Weeds growing between pavers: joint sand has emptied below the surface, allowing seeds in.
- Water pooling on the surface after rain or sprinkler overshoot: slope or drainage issue worth investigating.
- Loose or rocking pavers: bedding failure, a smaller localized problem if caught, a section reset if not.
Walk your driveway when it’s dry and empty, ideally on a sunny day when haze is easiest to see. None of these signs are a reason to panic. Each is a prompt to act on the small repair before it becomes a large one.
Repair or Replace? Deciding What Makes Sense
Homeowners often ask whether a worn driveway means replacement or just repair. The honest answer depends on how many of the failure signs are present at once, and how deep the issue goes. Surface-level problems like mineral haze, faded sealer, and emptied joints are almost always treatable maintenance. A single low spot from failed restraint or bed failure is a localized repair. When pavers are migrating across multiple sections and the sub-base has shifted, then the conversation turns to whether a partial reset or a new install is the better investment.
A practical way to sort it out:
- If the pavers themselves are intact, the color is good, and only the surface or joints have degraded, this is maintenance. Clean, refill joints, reseal. Continue the annual schedule.
- If the perimeter is failing or a few units are loose, this is a localized repair. Restore the edge and reset the affected section.
- If the bed under the pavers has failed across a large area, or the base was never installed correctly, that’s the point where replacement becomes the honest recommendation.
- If your paver style or color is discontinued, replacement matching can be difficult. Working with a contractor who has access to Belgard, Techo-Bloc, Unilock, Tremron, and Cambridge Pavers means finding a close match is far more likely, which sometimes means repairing instead of replacing an entire surface.
When you’re on the fence, a proper assessment is worth the call. A quick walk-and-talk is the cheapest way to know whether you’re looking at an afternoon of maintenance or a full project. We’re always happy to look at the driveway and the roofline and the fence line together, since as a contractor handling fence installation and home additions & ADU alongside paver work, we can spot issues that appear at property edges and conflicts before they become expensive.
Common Mistakes to Avoid
- Bleach on mineral haze. Bleach is the first thing most people reach for and one of the worst choices for a pigmented paver. It reacts unpredictably with the surface, leaves residue, and doesn’t actually dissolve calcium. Use a pH-neutral paver cleaner designed for the job.
- High-PSI pressure washing. A powerful jet blasts joint sand out and can chip edges and texture. Low pressure with a wide fan tip is the rule in Burbank’s sun and wind, where the joint sand is already under pressure.
- Resealing on a four-year timeline from a national guide. Our UV load breaks sealer down much faster than a coastal climate’s. Two years is usually the right cadence here; four is where the finish starts wearing under the sealer.
- Waiting for a paver to pop before checking the edge. By the time a paver is loose, the restraint has likely been failing for months. Check the perimeter first.
- Ignoring joint sand before wind season. Empty joints allow windblown grit to get under the pavers and accelerate migration. Refresh sand before Santa Ana season, not after.
- Sealing over surface haze or moisture. Sealing a mineral film simply traps it and makes the correction harder later. Clean and dry first, always.
- Treating a settling problem as a cleaning problem. Repeated resealing and refilling over a shifting bed wastes money and postpones the repair you actually need.
See the difference
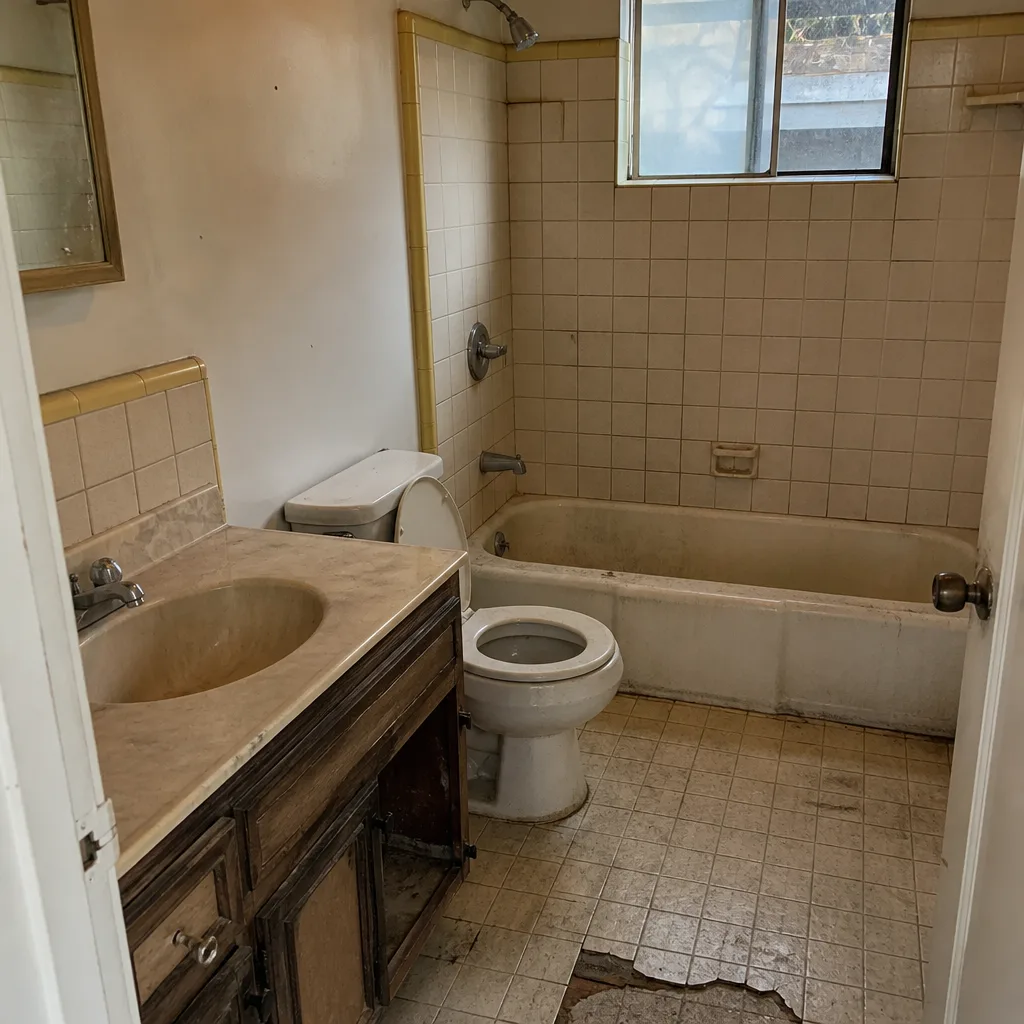 Before
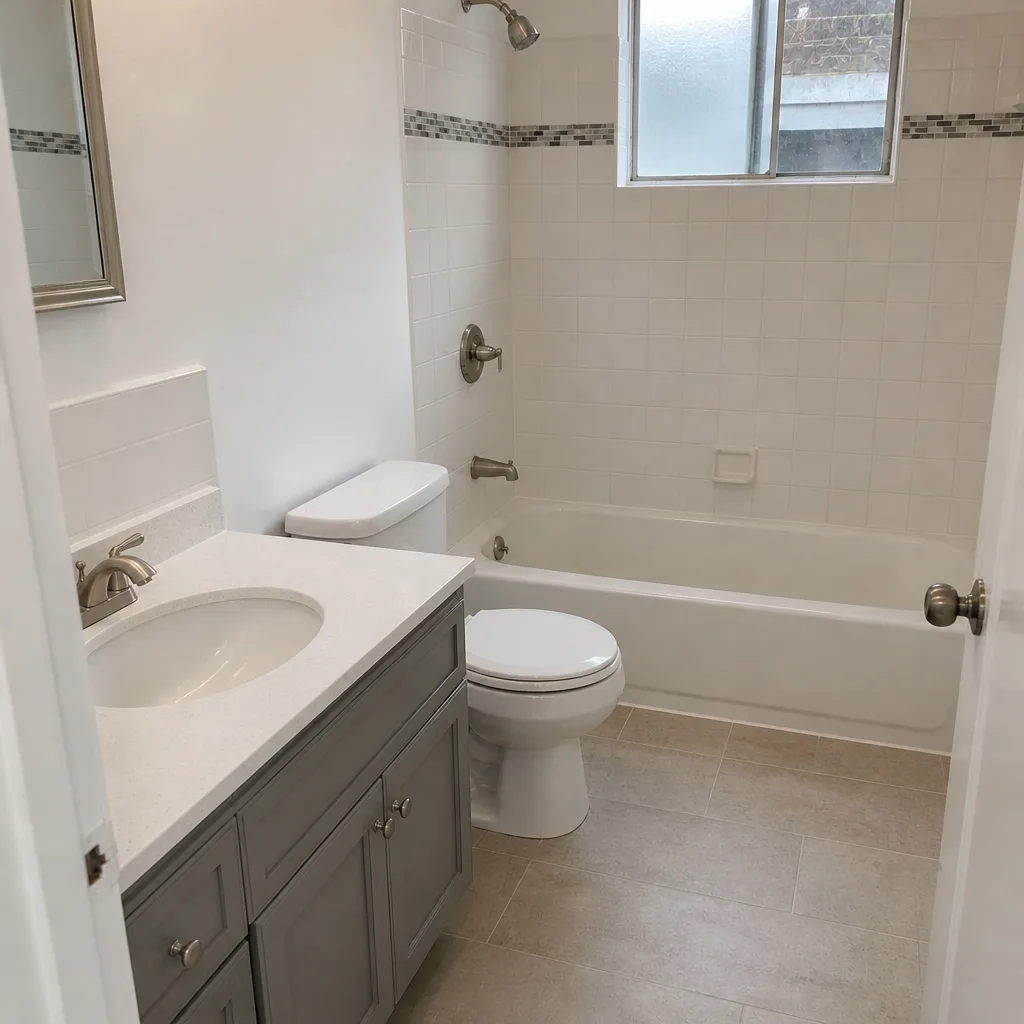 After
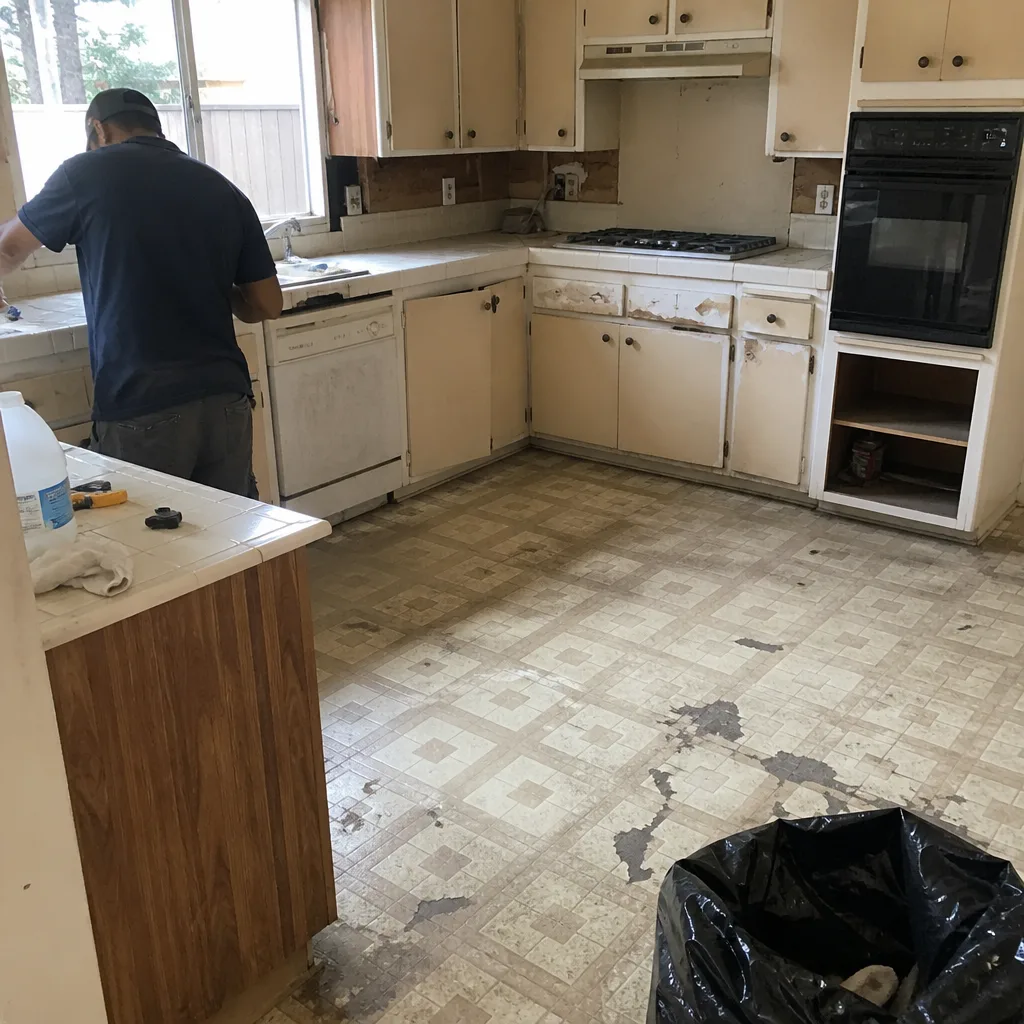 Before
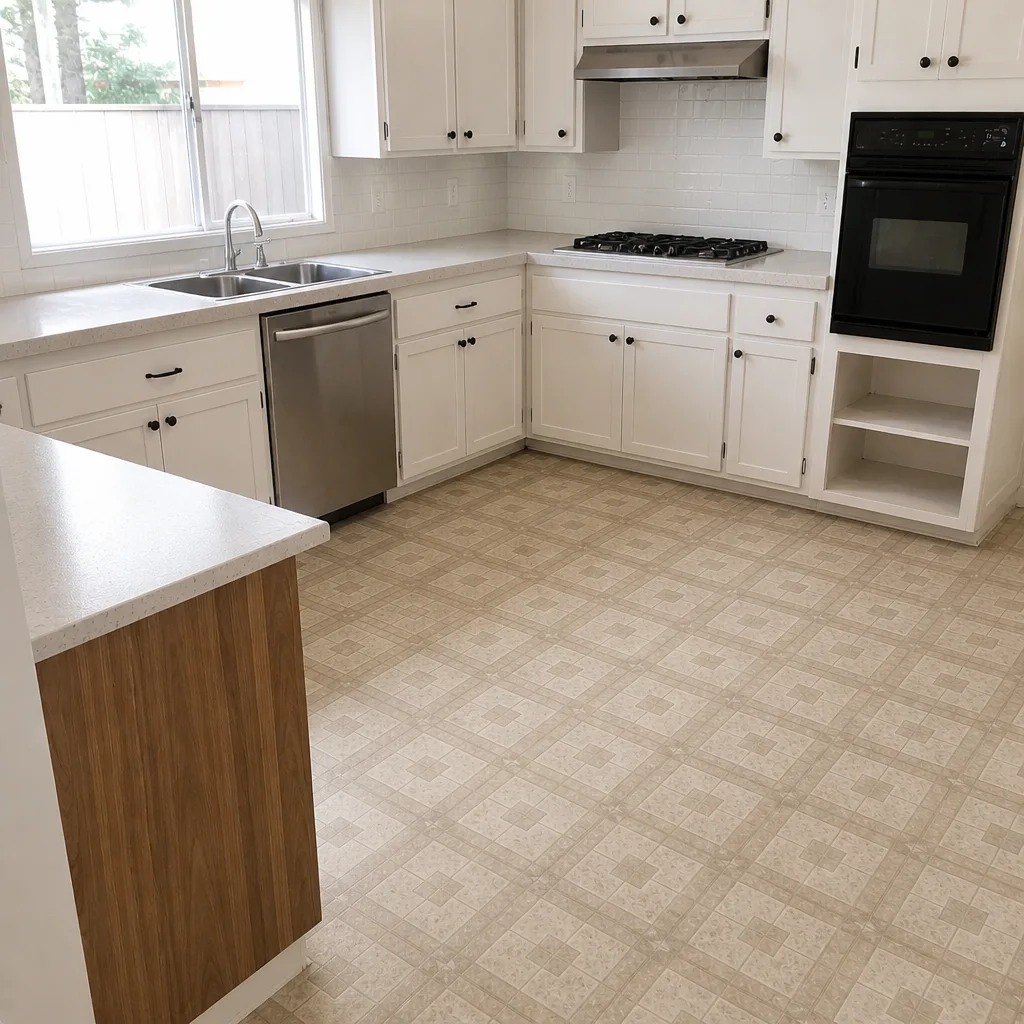 After
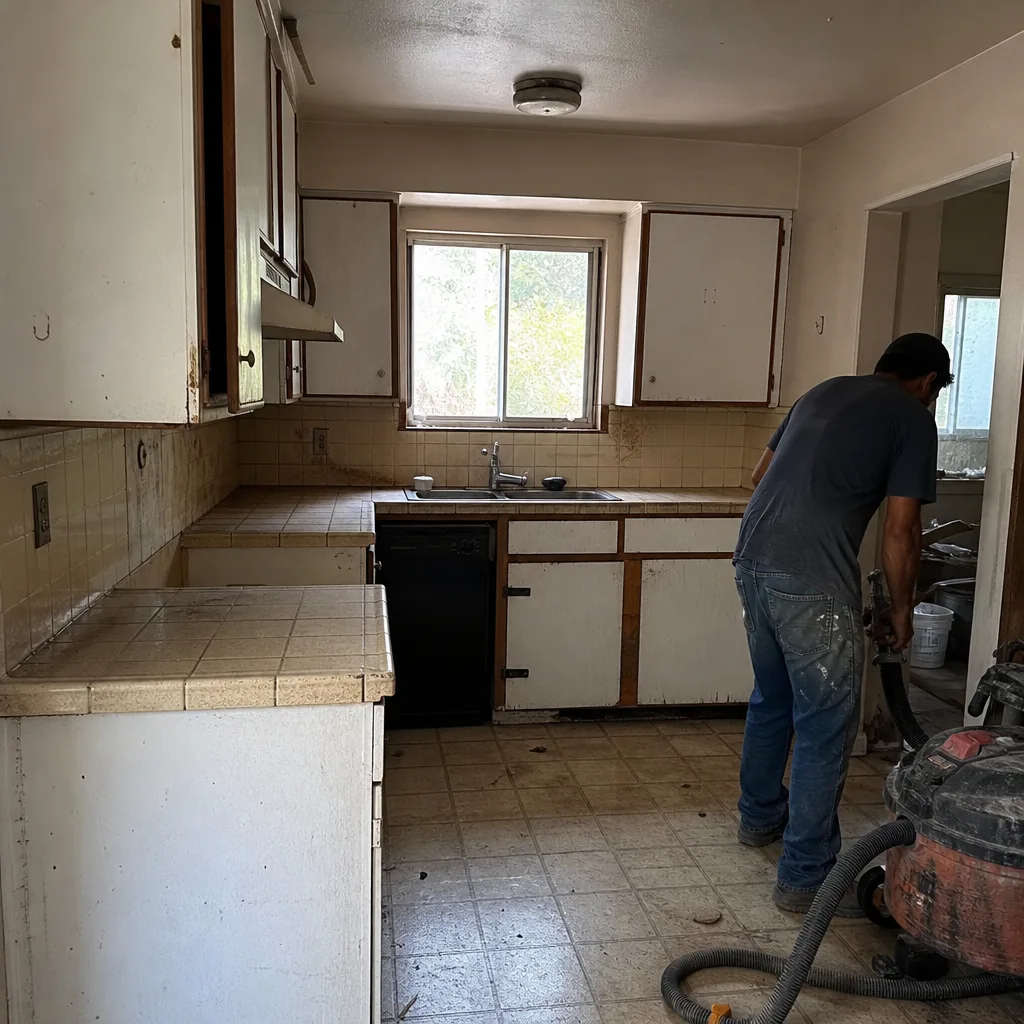 Before
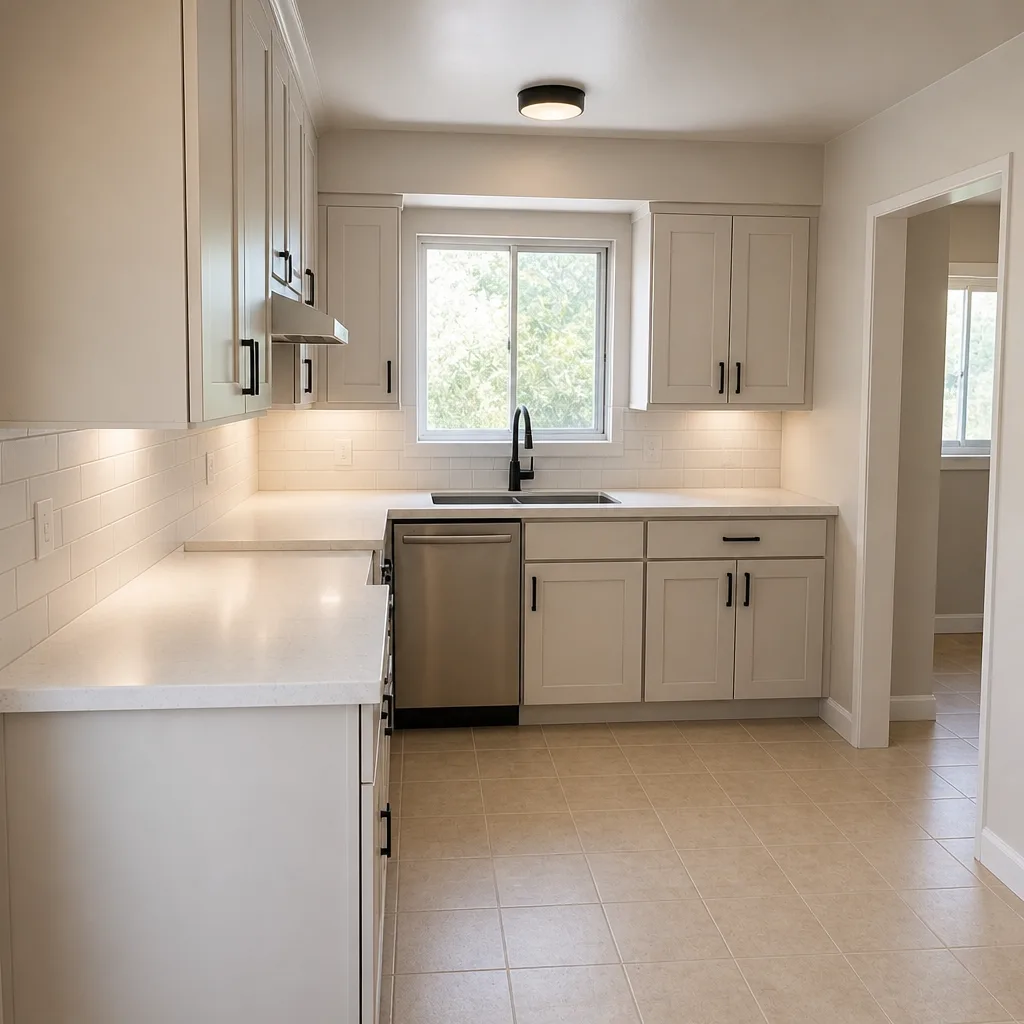 After
When to Call a Professional
Some jobs are a homeowner with a broom, a hose, and a pH-neutral cleaner. Others call for expertise. Reach out when: a restraint has failed or pavers are migrating at the perimeter; joint sand is emptying faster than annual maintenance can address; the surface needs a full reseal and a deep mineral clean; a section of pavers is loose or rocking; standing water is pooling on the surface; or you’re facing a repair-versus-replace decision on an older driveway. Structural or permit-level work also warrants a pro, which is often where full-property coordination matters, since additions and ADU footprints sometimes interact with driveway and hardscape layout. When the job is real, get a written estimate with line-item pricing so you know the scope before we start. Construction Burbank offers free estimates in Burbank; call (833) 954-6131. We answer 24/7. Fast dispatch from 7am to 7pm, Sunday through Friday.
Frequently Asked Questions
Roughly every two years. Burbank’s UV load is intense enough that sealer breaks down faster here than in coastal or milder climates, so two years is the safer cadence. Test the surface with a few drops of water; if it soaks in quickly, it’s due. Call (833) 954-6131 for an assessment – estimates are free.
Mineral deposit from Burbank’s hard water. The calcium and magnesium in the water stay behind every time it evaporates. Remove it with a pH-neutral paver cleaner, low pressure, and patience; never bleach or acid. If the haze has been sealed over, it needs professional correction. Call (833) 954-6131 for an exact quote – estimates are free.
Only at low pressure with a wide fan tip held back from the surface. High-PSI washing blasts joint sand out, can chip edges, and can void a manufacturer’s warranty on a premium paver. For deep cleaning, use a pH-neutral cleaner with a garden hose rinse. Call (833) 954-6131 to book a professional clean – estimates are free.
Look for gaps between the outer pavers and the edge rail, visible lifting of the rail, or cracked concrete around the restraint. Springy outer pavers and widening joints along the edge are also early signs. Catch it early and it’s a small repair; wait and it becomes a section reset. Call (833) 954-6131 to have it checked – estimates are free.
Before Santa Ana wind season, roughly early fall, and any time you see low joints or sand loss. Empty joints let windblown grit in and accelerate paver migration. In high-wind zones, expect more frequent refills. Call (833) 954-6131 for a joint sand and inspection visit – estimates are free.
The wrong sealer can. Sealing over moisture or a dirty surface causes clouding and peeling, which is an application error rather than a product failure. Sealing on a correct cycle with the right product for your paver type is safe and important. Call (833) 954-6131 to get the right sealer on the right cycle – estimates are free.
The Bottom Line
Burbank treats a driveway differently than a national maintenance guide assumes. Hard water leaves mineral haze, UV breaks sealer down faster than coastal climates, and Santa Ana winds strip joint sand at a real pace. Manage those three, inspect your edge restraints twice a year, and avoid the cleaning shortcuts that void warranties, and your pavers will stay tight and finished for far longer. It isn’t complex; it’s a schedule. Keep the surface clean and neutral, refresh sand before wind season, reseal on a two-year rhythm, and watch the perimeter closely. For the jobs that need a pro, one contractor, every project phase, from the driveway to the roofline. Ready to get a written estimate? Call (833) 954-6131. We answer 24/7. Fast dispatch from 7am to 7pm, Sunday through Friday.
Written by the team at Construction Burbank.